Here we outline the process for creating new participant records in LabKey.
Participants Tab Overview
The Participants tab is organized into two main parts:
- The ‘Enter Participant’ form: this area contains empty fields to enter new participant information
- The Participants grid view: this area shows the entire participant list for the study
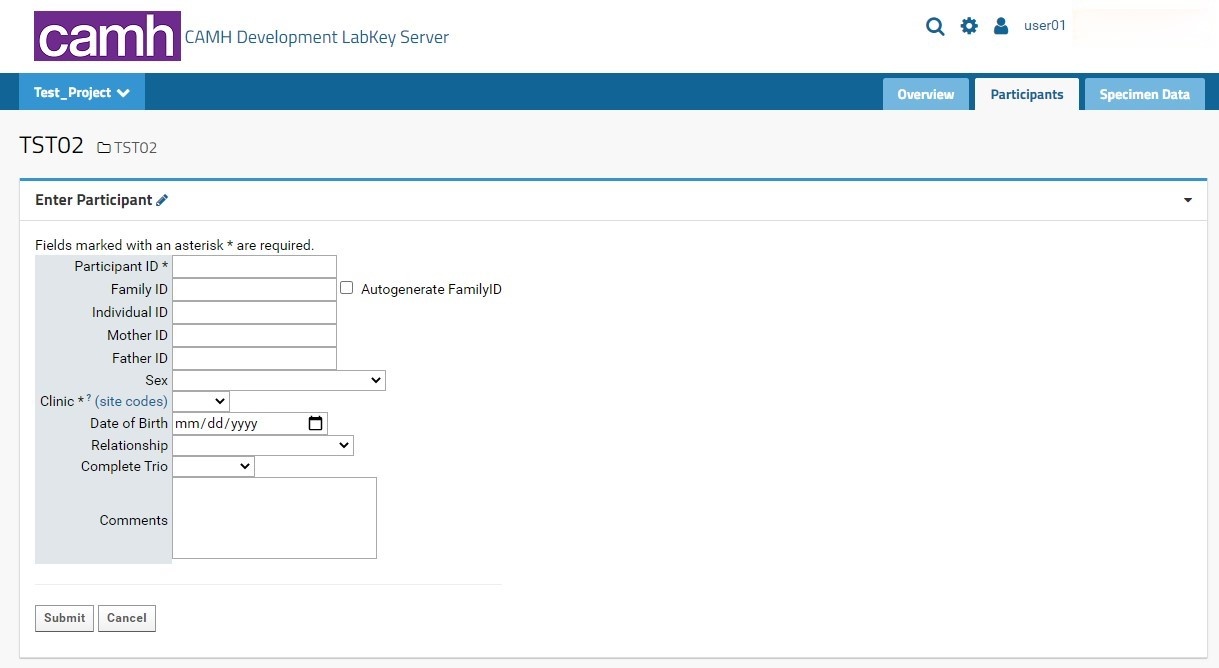
Enter Participants Form
Individual participant entry is done through the Enter Participant form.
- Participant ID: this field is required. This field allows for alphanumeric entries. It is recommended that new CAMH studies on-boarded through LabKey follow the KCNI and NIP formats for proper integration with other NIP platforms. A full guide for Participant IDs (LabKey Participant IDs) can be found here.
- It is recommended users name their Participant Codes numerically (starting at 00000001 and incrementing as necessary).
- Any Participant ID that does not following the NIP naming convention will be assigned a new Study Participant ID that conforms to the NIP naming convention. See the Edit Participants section for further details on Study Participant IDs. Both IDs will be stored in LabKey for cross-referencing purposes.
- Clinic: this field is required. Users will select the proper KCNI site code where the participants were recruited (for human participants) or collected (for animal participants) from a dropdown list. An external link to shows the full name and location of the three-letter site code for reference.
- Sex: this field is recommended as it can be used for quality control purposes in genetic studies. However, study teams must ensure they have REB approval to collect and share this information with research personnel involved in the collection and analysis of the samples. Users will select the proper sex designation as outlined in the CAMH patient intake form from a dropdown list. For participants where sex was not entered or is irrelevant for the study’s purpose, it is recommended to mark the field as Unknown/Prefer not to answer.
The following table indicates each possible entry field and their expected data types:
Field | Data Type | Comments |
|---|---|---|
Participant ID | Alphanumeric (String) | Required field. Recommended standardized NIP format: PROJECT|STUDYCODE_SITECODE_PARTICIPANTCODE Ex: TST01_CMH_00001000 |
Family ID | Integer | Option to autogenerate a family ID by selecting the checkbox next to the Family ID entry field. This field is mandatory for genetic (DNA/RNA) studies where the study team will be recruiting family members. |
Individual ID | Integer | This field is mandatory for genetic (DNA/RNA) studies where the study team will be recruiting family members. |
Mother ID | Integer | This field is mandatory for genetic (DNA/RNA) studies where the study team will be recruiting family members. |
Father ID | Integer | This field is mandatory for genetic (DNA/RNA) studies where the study team will be recruiting family members. |
Sex | Dropdown menu | Recommended field |
Clinic | Dropdown menu | Required field |
Date of Birth | DateTime | Can be entered manually, or by clicking the calendar icon and selecting the appropriate date. Expected format: MM/DD/YYYY |
Relationship | Dropdown menu | This field is mandatory for genetic (DNA/RNA) studies where the study team will be recruiting family members. |
Complete Trio | Dropdown menu | This field is mandatory for genetic (DNA/RNA) studies where the study team will be recruiting family members. |
Comments | Multi-line textbox | Maximum space of 400 characters |
There are two buttons at the bottom of the page:
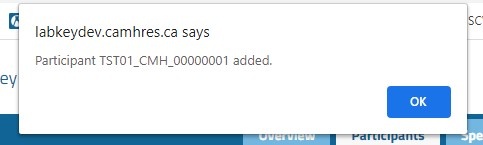
- Submit will insert the new Participant entry directly into the Participants dataset (assuming all required fields are entered, and optional fields are of the correct data type as indicated in the above table). The user will then be automatically redirected to the Specimen Entry form in the Specimens tab (see below).
- The Cancel button will clear the form and return the user to the Overview tab.
Entering Participants
Participants can be entered individually or in bulk. The bulk option should only be used by external collaborators who have existing biosample-related data collected and stored elsewhere that are being shared with CAMH scientists for current analysis.
The process for entering single participants is as follows:
- Enter a valid Participant ID (Recommended format: Neuroinformatics Study Participant ID - Ex: TST01_CMH_00001000).
- Indicate the Clinic (recruitment/collection location) from the dropdown menu.

- Fill the remaining fields as necessary (see table from previous section).
- Ensure that the entered information is correct and in the correct type (refer to the Data Type column in the table above), and press Submit. The window will redirect the user to the Specimen Entry
- Note that pressing the Cancel button will clear the form causing the window to redirect to the Overview tab.
- Note that pressing the Cancel button will clear the form causing the window to redirect to the Overview tab.
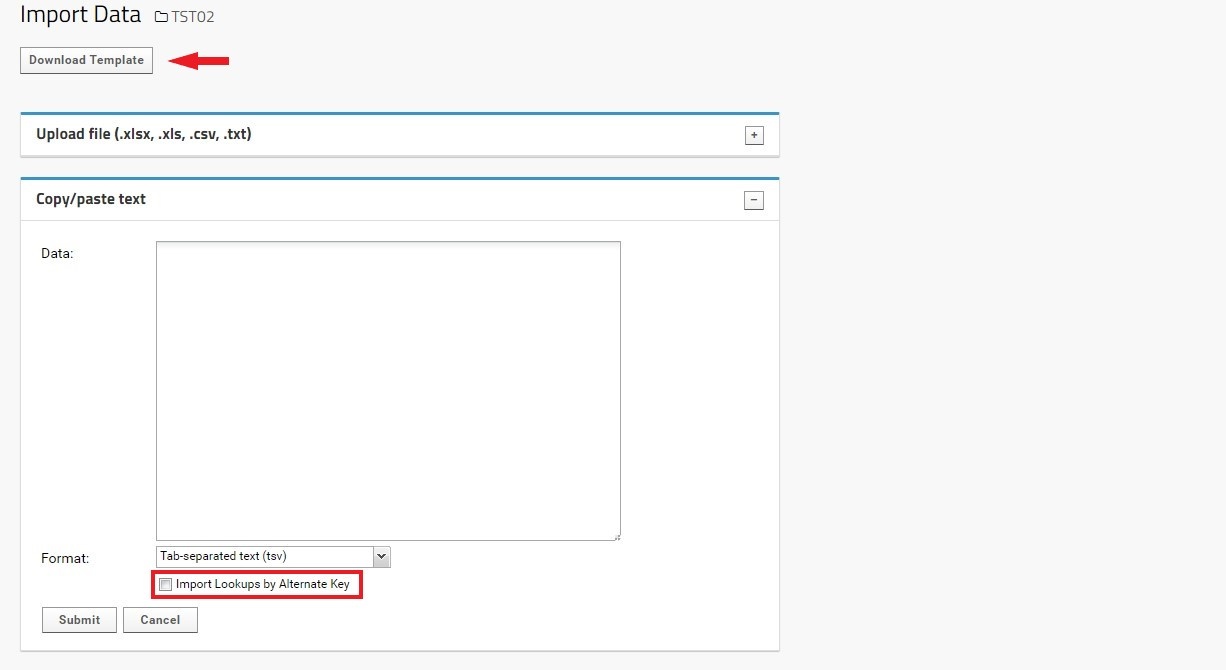
The process for entering participants in bulk is as follows:
- Locate the Participants grid. This is the bottom frame in the Participants tab.
- In the grid menu, click on Insert data (+ symbol), then Import Bulk Data.

- Download the Participants file template (click on the Download Template button) to get the correct header information.
- Enter the participant data according to the table above outlining required versus optional fields.
- Upload the Participants file to the Upload file section. Alternatively, the data can be copy-pasted directly from a spreadsheet or text document, as long as they are separated by tabs (not spaces) or commas and the proper format (tab separated/comma separated) dropdown option is selected.
- Ensure that either method includes the proper header information.
- Note that importing Participants in bulk will bypass the initial check that ensures data is in the correct format. This is especially important for fields linked to lookup tables (Sex, Clinic, Relationship, and Complete Trio). In order to ensure proper lookup entities are kept, select the ‘Import Lookups by Alternate Key’ box when uploading data.
- The submit button will insert the bulk data into the Participants dataset.
- Note that any errors will be displayed at the top of the page. These errors and may not be intuitive, as they may be generated by PostgrSQL rather than LabKey. For non-specific errors, please contact the LabKey administrator.
Editing Participants
In the Participants grid view, each Participant can be edited by selecting the pencil icon to the left of the Study Participant ID column. The user will then be taken to the Update Dataset Entry page with the corresponding Participant ID in the top row.

Each field can be edited by typing into empty text boxes or by replacing existing text. Note that each non-dropdown menu option has a superscript question mark (?) next to the field label. This indicates the expected and required data type that must be entered to update the desired participant information.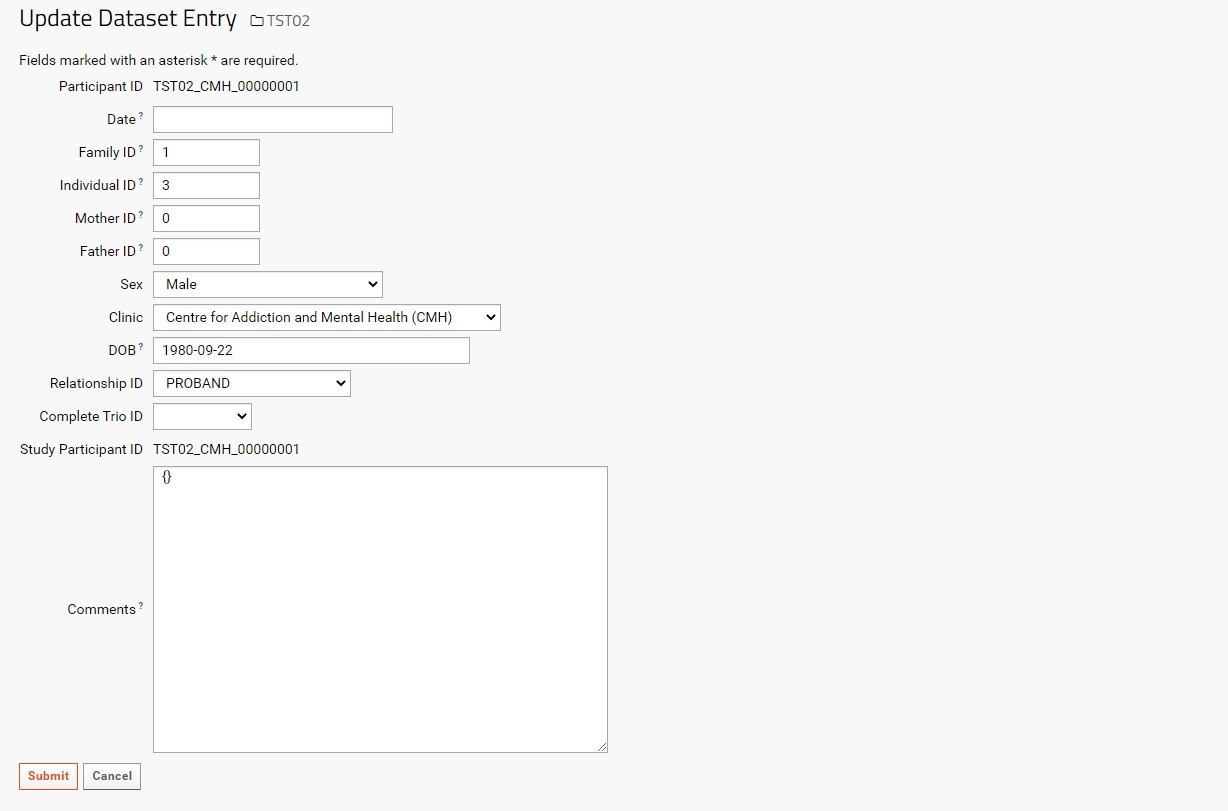
Note that the Participant ID and Study Participant ID are uneditable, as changing these values may affect linkages with Specimen and Instrument data. If the Participant is entered mistakenly, or if there are errors while entering the Participant ID, it is recommended to delete the participant record (assuming it is not already connected to any specimen records). If updating the Participant or SP-ID is necessary, please contact the LabKey Adminstrator.
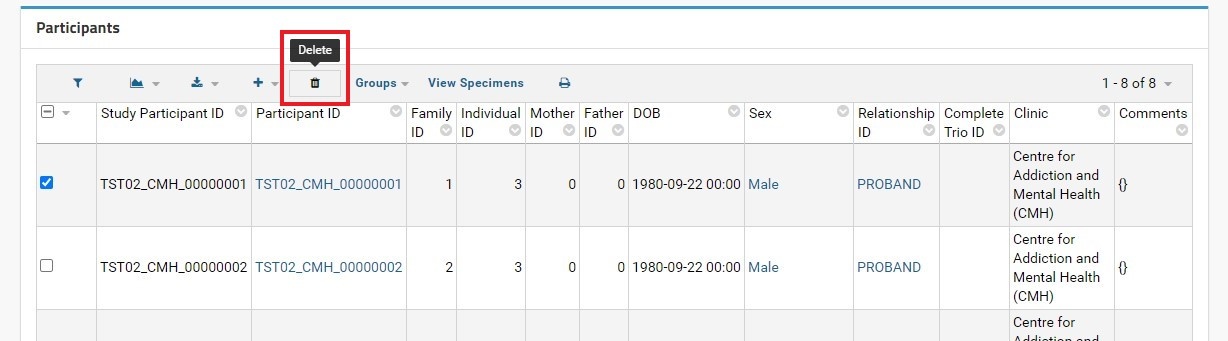
Deleting Participants
In the Participants grid view, each participant can be deleted by selecting the checkbox in the left-most column, and navigating to the top of the grid to click on the DELETE button. An alert box will appear in the browser asking for confirmation to delete the selected rows (participants).
Note that deleting a participant record does not automatically remove the specimens and vials added for that participant; all specimens and vials records associated with the participant record being deleted also need to be deleted manually via the SpecimenDetail webpart.